How to Use a Hardware Wallet (Step-by-Step)
Learn how to use a hardware wallet step by step. Keep your Bitcoin, Ethereum, and altcoins safe with Ledger, Trezor, or SafePal. The ultimate crypto security guide.
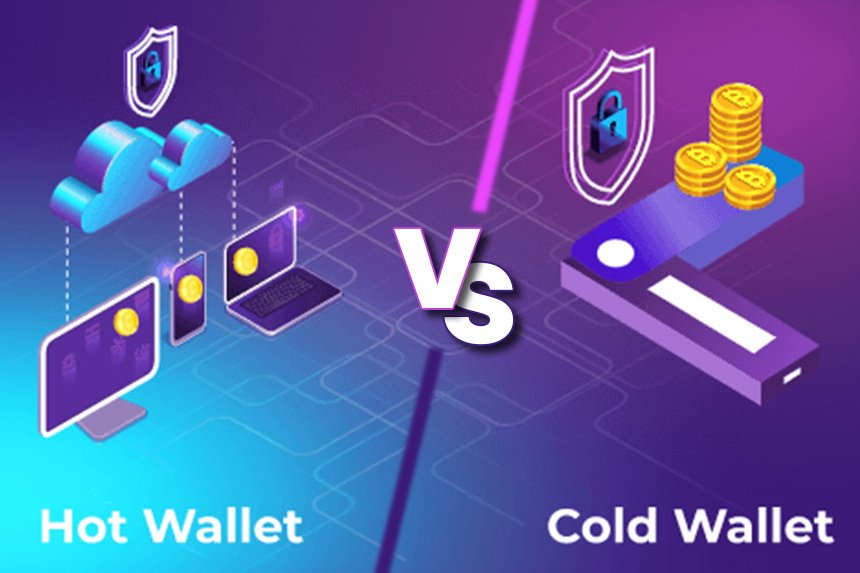
When it comes to protecting your cryptocurrency, nothing beats the security of a hardware wallet. Unlike hot wallets (apps or exchanges connected to the internet), hardware wallets are offline devices designed to keep your private keys safe from hackers, malware, and phishing attacks.
If you’re serious about long-term crypto investing, learning how to properly set up and use a hardware wallet is a must. Here’s a simple step-by-step guide.
🔒 1. Choose a Trusted Hardware Wallet
The first step is selecting a reliable wallet brand. Popular options include:
-
Ledger Nano X / Ledger Nano S Plus
-
Trezor Model T / Trezor One
-
SafePal S1
When buying:
✅ Always purchase directly from the official website or verified resellers.
⚠️ Never buy second-hand wallets — they could be compromised.
⚙️ 2. Unbox and Install the Wallet Software
Each hardware wallet comes with its own app (Ledger Live, Trezor Suite, etc.).
Steps:
-
Connect your device to your computer or smartphone.
-
Install the official companion app.
-
Update the firmware if necessary.
📝 3. Write Down Your Recovery Seed Phrase
During setup, the wallet will generate a 12–24 word recovery phrase.
This is the most important step:
-
Write the words on paper (not digitally).
-
Store them in a safe place (safe box, fireproof container).
-
Never take a photo or upload it to the cloud.
⚠️ Anyone who has your seed phrase can steal your crypto.
🔑 4. Create a PIN Code
Set up a strong PIN on the device. This adds an extra layer of protection in case your wallet is stolen.
💰 5. Transfer Crypto to Your Hardware Wallet
Now it’s time to move your coins:
-
Open the companion app.
-
Generate a receive address.
-
Send crypto from your exchange (Binance, Bybit, OKX, Coinbase, etc.) to this address.
Always test with a small amount first to make sure the transfer works.
✅ 6. Confirm Transactions on the Device
Hardware wallets require manual confirmation on the device screen.
This prevents malware on your PC/phone from sending funds without your knowledge.
🛡️ 7. Store Your Wallet Safely
-
Keep your hardware wallet in a secure place.
-
Don’t carry it around unnecessarily.
-
Make sure your recovery phrase is stored separately from the wallet.
⚠️ Common Mistakes to Avoid
-
❌ Saving your seed phrase on Google Drive or iCloud
-
❌ Sharing your recovery phrase with “support teams” (big scam tactic)
-
❌ Buying wallets from Amazon/eBay sellers instead of official sources
🔮 Final Thoughts
Using a hardware wallet may feel complicated at first, but it’s one of the best decisions you can make to protect your investments. Whether you hold Bitcoin, Ethereum, or meme coins like Dogecoin, keeping them offline ensures maximum security.
👉 Think of your hardware wallet as a digital safe: set it up once, protect your keys, and sleep better knowing your crypto is safe from hackers.
Share
What's Your Reaction?
 Like
1
 Dislike
0
 Love
0
 Funny
0
 Angry
0
 Sad
0
Sad
0
 Wow
0
Wow
0


